Photo Guide: Using Studio Strobes For Ice Hockey Photos (Media Day)
Most people don’t know it, but strobes are used a ton during professional sport games, especially hockey and basketball. One of my favourite photographers, Mark Blinch, is a wizard with strobes. He is able to use light to manipulate the subject and create intense, contrasty photos. Typically these are set up in the rafters and multiple, high-powered strobes are used in sync to get these awesome shots.

Auston Matthews, Connor McDavid - Mark Blinch - NHL/Getty Images
I always admired those photos and the old-school strobe shots that you would see in your local arena of some players from the 70s and 80s. These typically included the players with their helmet off, spraying a cloud of snow towards the camera. This, of course, was made possible with the use of strobes. You would need that additional light to stop motion when using film in a relatively dark place, like a minor hockey league arena. I, unfortunately, only have two medium-powered strobes (at the moment), not nearly the gear needed to grab the shots above, but still enough to work with to achieve some interesting looks.

Bobby Orr - Fine Art America
The OHL’s Peterborough Petes had their media day at the start of the season and I thought it was a perfect opportunity to experiment with my strobes and try to achieve these old school photos. I scoured the internet looking for any resource to point me in the right direction but I found nothing so I just had to wing it, hence why I’m writing this blog. So what was my set up and how did I make these shots?


Cam Gauvreau (left), Owen Beck (right) - Pick’s Pics
Here is the gear I used to achieve these photos:
Canon R6
Tamron 70-200mm f/2.8 SP Di VC USD
Godox QT400 II strobes (2)
Light stands (2)
XPro II trigger
7” standard reflector (2)
I got the camera from a local store here in Peterborough (Peterborough Photo Service), the lens on Kijiji a few years back and the strobes/accessories in a kit from StrobePro.com (based in Calgary).
I know that this gear is expensive but I warranted the price point to use these strobes for headshots and other media day type shoots. I’m not sure how well it would work, but you could probably use speedlites instead of the strobes and just position them much closer to the subject. This may limit your shoot, but you would save a ton of money.
Onto the shoot.
In order to achieve the look we are after we need a dark or near-dark setting. That means asking your arena staff/manager to turn off or down the lights in the rink. This could be a big ask, especially from a safety point of view, so reach out in advance. If you’re thinking of doing this on your local out-door rink, just wait until just before sunset to start setting up and safety first!

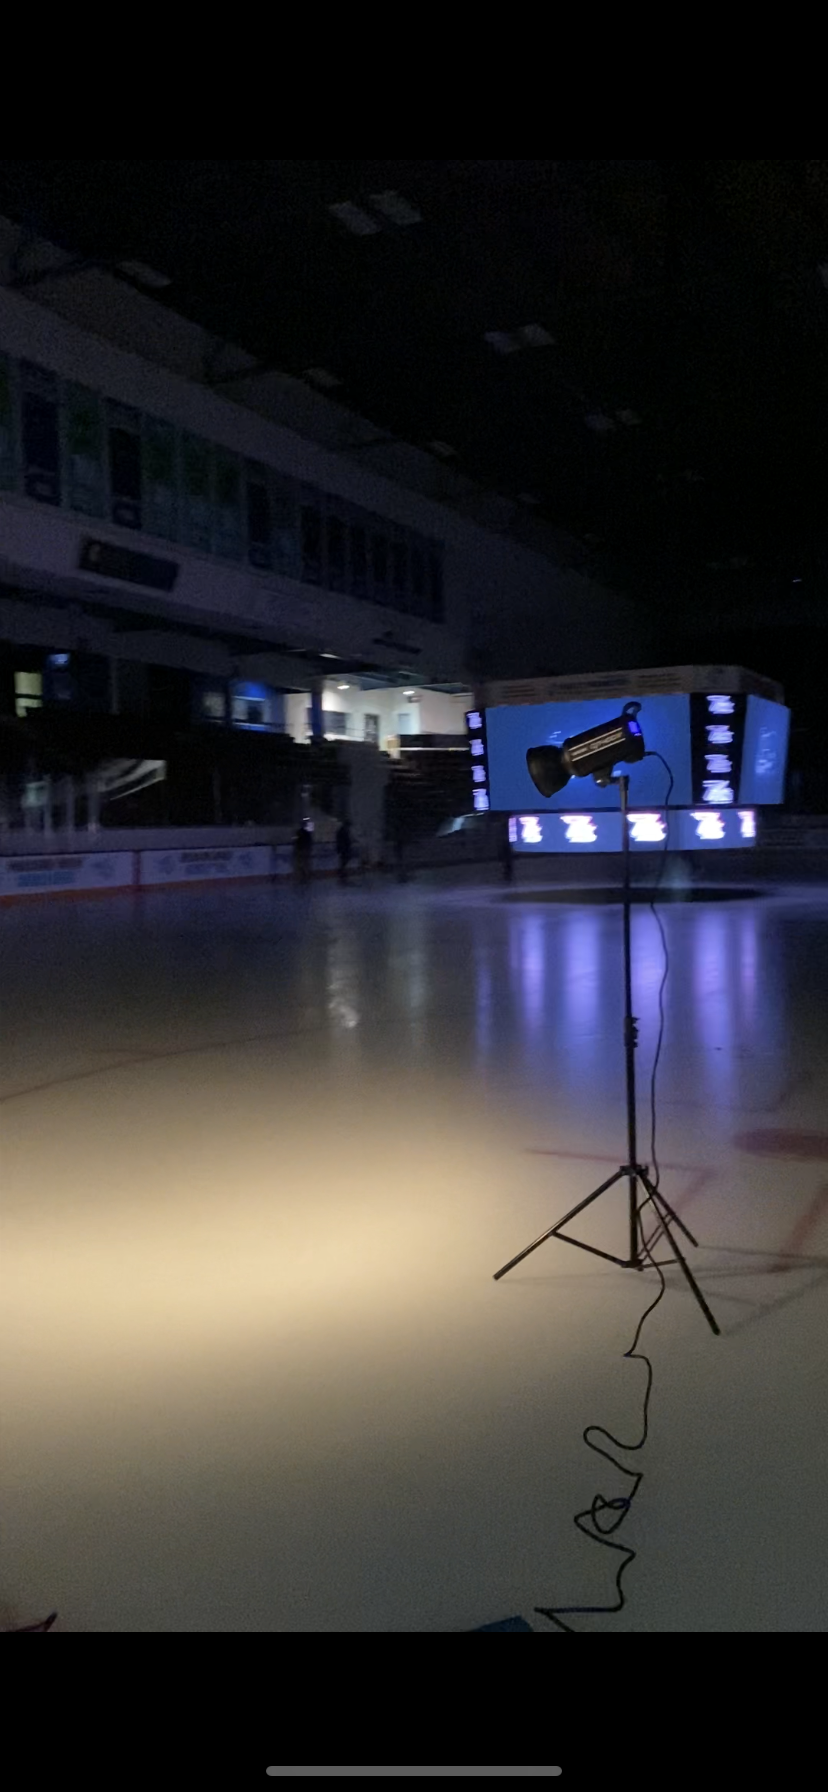
My strobes at the Peterborough Memorial Centre
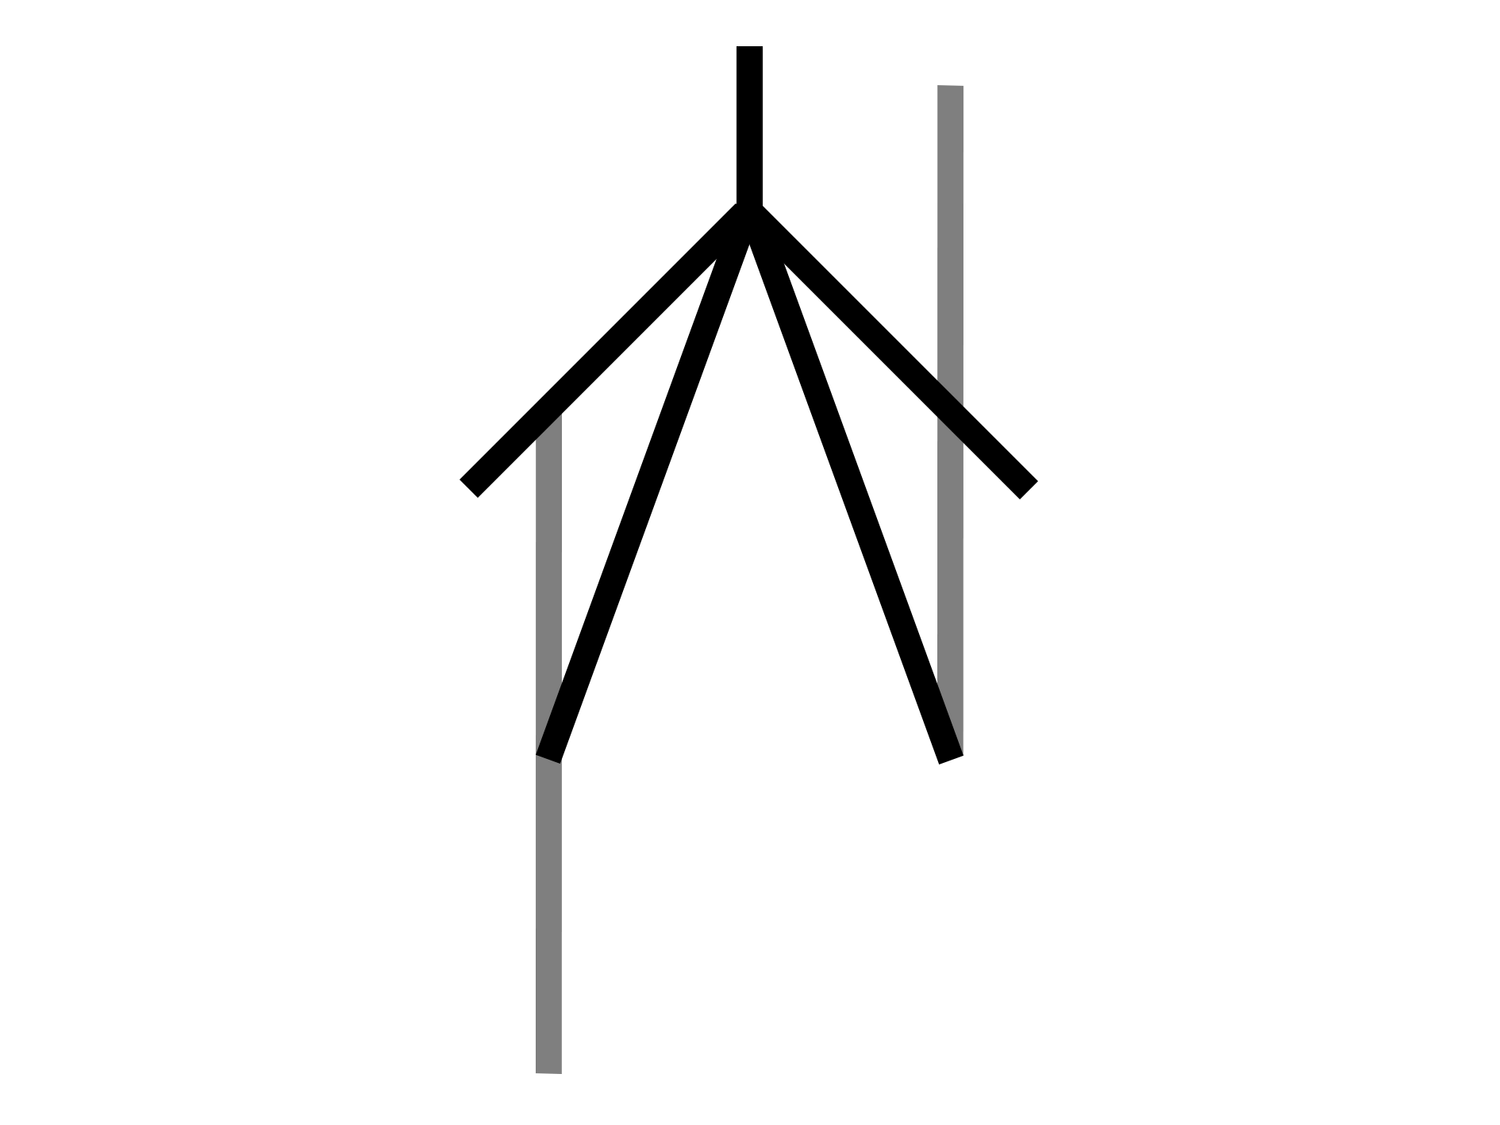
Next, positioning on the ice. You want to shoot down the ice as much as possible and at a bit of an angle. I suggest placing your set-up at one of the offensive/defensive zone circles and shoot towards the opposite circle at the other end. This will ensure that your strobes don’t light up any of the boards in your own end, and you won’t get a reflection from your strobes coming off the glass at the opposite end. I would also recommend turning on the modeling lamp on your strobes. This will make it much easier for your camera to focus on the subject. If your strobes don't have this function, a flashlight pointed up from the ground or from a partner holding it is perfect, so long as it isn’t so bright that it shows up in the final photo.

Green dot (photographer), orange dot (subject), purple dots (strobes/speedlites)
Now that we have our gear in position, what's next? This is where the QT400s come into play. They have high-speed sync (HSS) which allows me to raise the shutter speed to level above the R6’s normal limit (sync speed) without having those black bars coming across the photo. For most cameras this is around 1/180s-1/250s but with HSS you can go up to 1/8000s (at least on my camera/strobes).
My camera and strobe settings were as followed:
Shutter Speed - 1/640s
ISO - 100
Aperture - f/4
Strobe Power - 1/4, HSS
Now, HSS is not needed if your subject is not moving fast. I only used these settings because of the stopping shots. I could have used normal sync for a majority of the shots but I didn't want to have to change them throughout the shoot, so I just kept it at the fastest one. So if your lights dont have HSS, you can still get a majority of the shots. The reason the stopping ones may be difficult is because of ghosting. Basically the flash stops the motion as it happens but only for the duration that the light is actually on. When the flash ends, the subject continues to move while the shutter is still open, a trail of the subject can appear that is a bit darker and has motion blur. If you're going for this look, great, if not, it can be undesirable.

Photography Stack Exchange
As for where I was standing. I stood along the boards in the corner and kept my lens at about 135mm to get a full body shot. I moved closer and zoomed in to 180-200mm for upper body and head isolation shots. You can use pretty much any lens you want for this, though I recommend shooting at at least f/4 to make sure your whole subject is in focus. Positioning yourself low, around waist height of the subject, also provides a nice “hero shot” perspective.
If you want to get really fancy, you can tether your camera to a laptop to see the photos live and make sure everything is focused and exposed correctly. I try to do this as much as possible to get the photos right in camera as trying to analyze a 20MP photo on a 2” screen doesn’t work well.

Tethered shoot with the NLL
And that’s it! By following this guide you’ll be in great shape to take some awesome photos